

Mould is more than unsightly. If left for too long, it spreads fast, potentially leading to numerous health issues like exacerbated asthma or allergies. That’s without mentioning the long-term damage it can cause to walls, paint, and furniture. Despite this, there’s still a lot of overcomplicated or overpriced advice out there. Enter this guide, where we’ll show you how to prevent mould on walls in ways that actually work. So, grab a cuppa, here’s what’s coming up:
- Why Mould Happens
- How To Prevent Mould: Immediate Steps and Daily Habits
- Got A Bigger Problem?
- Conclusion
Why Mould Happens
If you’re facing off against a mould problem, you’re far from alone. The UK Health Security Agency estimates that over 2 million people are currently living in homes with significant damp and/or mould.
Mould is a fungus, and like all fungi, it thrives in specific conditions. These specific conditions happen to also lend themselves well to our homes: namely, moisture, warmth, and a food source (which, far from a Sunday roast, can be as simple as dust or wallpaper paste).
Most mould starts with excess moisture – whether from leaks, drying clothes indoors, steam from cooking, or even just poor insulation. When there’s not enough airflow, that moisture has nowhere to go. Instead, it raises the humidity of the room, leading to condensation on cold surfaces like exterior walls or window frames. This condensation then soaks into said surface, creating damp patches for mould spores to thrive on. In winter, this is made worse since surfaces stay cold and the temperature difference with the air encourages even more condensation.
So, if you want to know how to prevent mould on walls, it starts with understanding how to manage moisture. The UK Centre for Moisture in Buildings has a helpful Moisture Balance Calculator to check whether your space is too damp or dry, which can help to prevent the ultimate mould-growing environment.
How To Prevent Mould: Immediate Steps and Daily Habits
Before We Start…
Unfortunately, some level of mould is an inevitable part of living in good old rainy Britain. It’s when it continues to build up and reoccur that it becomes a problem – which is where understanding how to prevent mould patches is vital.
Before following these steps, make sure that all visible mould has been properly cleaned. Even if some staining remains, that’s okay. What matters most is that any active mould is fully gone before moving onto prevention – otherwise, it’ll likely return no matter what you do.
Immediate Steps
Immediate prevention is simple and can be split into 2 steps. Just note that this advice is for small problem areas. If you’re dealing with a particularly large section of mould, it is best to bring in a professional. That level of coverage can be dangerous to tackle without the proper equipment and training.
Step 1: Identify What’s Causing the Mould
Before thinking about how to prevent mould day to day, you need to understand why it’s happening at all. It usually comes down to either a leak or a broader environmental issue.
Rule Out a Leak
First, ensure that there isn’t a leak. They’re one of the most common causes of mould – whether it’s a slow drip under the sink or a leaky roof. Even the best cleaning or prevention tips won’t work long-term if there’s a hidden water source creating the perfect conditions for mould to grow and spread.
Look out for:
- Irregular-shaped patches localised near pipe sources, on ceilings, or under floors.
- Bubbling or peeling paint.
- Damp areas that feel wet to the touch
- A strong musty and earthy smell.
No clear signs of an internal leak? Check the outside of your home for:
- Damaged brickwork or masonry
- Faulty or clogged guttering
- Poor window installation
- Problems with roofing
For external areas like gutters or roof surfaces, it’s a good idea to use a proven, high-performance sealant if you aren’t already. HB42 Ultimate Waterproofer is a great example – it’s instant, flexible, and works in wet conditions, making it perfect for emergency fixes and lasting repairs alike.
Check for Environmental Issues
If there’s no identifiable larger issues, then the problem is likely down to condensation, poor ventilation or other lifestyle habits that let excess moisture build up indoors. Ask yourself:
- Are bathroom and kitchen extractor fans working, and actually being used?
- Are windows being opened regularly?
- Is there furniture pushed along exterior walls, trapping condensation?
- Are you consistently drying laundry inside?
- Is there adequate ventilation?
Leak or Environment? A Quick Diagnostic Table
| Feature | Environmental (Condensation/Lack of Ventilation) | Leak-Related (Pipe/Roof/etc.) |
| Location | Typically on external walls, windows, or cold corners | Often near ceilings, under floors, or next to pipes |
| Pattern | Widespread patches or spotting | Localised growth, often in irregular shapes |
| Dry vs. Damp | Area may feel dry to the touch | Area is often damp or wet, paint may bubble or peel |
| Seasonality | Worse in winter (heating + closed windows) | Can occur anytime, depending on the leak |
| Smell | Musty, but usually faint | Stronger musty or earthy smell, especially if hidden |
| Wall/Plaster Condition | Paint may discolour but remains intact | Staining, bubbling, or crumbling plaster common |
| Nearby Water Source | No obvious source | Often near a pipe, bathroom, roof, or guttering |
| Condensation | Condensation visible on windows/glass | Rarely visible condensation |
Step 2: Treat, Paint and Seal the Surface
Once you’ve addressed the central issue, it’s time to treat and seal the surface. Mask up and grab your gloves, here’s how to stop mould in your house from spreading any further.
Treating The Area
Start by treating the area thoroughly. You may have already carried out this step as part of your cleaning process. If not, now’s the time for a bit of elbow grease. There are a few options at your disposal here, depending on the surface and sensitivity of the space:
- A dedicated mould remover spray.
- A bleach-water solution (1 part bleach to 3 parts water) on non-porous surfaces.
- White vinegar for more chemical-sensitive spaces like kitchens or kids’ bedrooms.
After applying your chosen treatment, allow the solution to sit for around 10-15 minutes. Then, scrub the area with a sponge and wipe it clean with a damp cloth. Don’t forget to also ensure that the space is fully ventilated throughout the process, especially if using a chemical mould spray.
Applying Mould-Resistant DIY Products
Once treated, it’s time to create a trusty line of defence. When it comes to long-term prevention, using the right products can make a world of difference. Here are some effective options to consider for keeping mould from making an unwelcome return:
- Paints: Always choose paints formulated for moisture resistance, especially in high-humidity spaces like kitchens and bathrooms, where mould is most common.
- Primers and Sealers: After cleaning affected areas, seal them with a high-quality primer product.
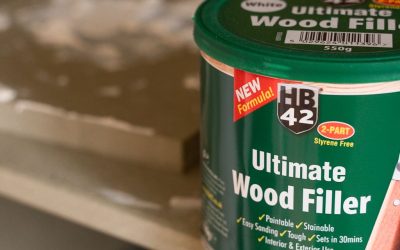
- For internal walls, primer sealer products like our shellac-based PS1 Primer Sealer Stain Block provide a rapid matt finish that will cover stains in one coat, even on hard-to-paint surfaces like tiles or varnish. Unlike other products on the market, PS1 offers excellent coverage without the streaky tells of thicker alternatives. Seriously, we’ve tested it.
- If it’s an external wall you’re dealing with, or an area with continuous exposure to steam and water, consider a heavier-duty choice. We’ve got you covered in that department too – our PS2 Primer Sealer Stain Block contains an anti-mould biocide and rust protection that offers premium coverage for most interior and exterior materials.
- Grout and Sealant: Grout and sealant are common hiding places for mould and can be particularly tricky to remove stains from. If the area is generally in good nick, it can be as simple as using a mould treatment spray to clean up the surface. If not, it’s probably a good time to replace the material entirely.
- Use a polymer-based, mould-resistant sealant likeour multi-purpose Ultimate All-In-One Sealant & Adhesive – they are stronger, more flexible, and longer lasting than traditional silicones.
- If mould has penetrated the grout, remove the top layer with a grout rake and reapply using a mould-resistant grout to prevent it from coming back.
6 Practical Daily Habits
Once you’ve taken the initial steps, it’s then all about how to prevent mould on walls through everyday moisture management. Often, it’s the little things that matter most.
1. Avoid Producing Excess Moisture
In most homes, the day-to-day build-up of moisture is the biggest driver of mould. Simple changes in routine to reduce condensation can significantly reduce the offender:
- Dry clothes outside or in a tumble dryer where possible.
- If drying clothes inside is non-negotiable, use a dehumidifier with a laundry mode.
- Save moisture-heavy cleaning jobs like mopping floors for days when you can comfortably crack a window open.
- Keep lids on your pans whilst cooking and use the cooker hood whenever the hob is on.
2. Don’t Overfill Your Spaces
Poor air circulation allows even the smallest amounts of moisture to linger and mould to thrive. Make sure that you allow room for your furniture and furnishings to breathe.
- Avoid stuffing cupboards and wardrobes too tightly.
- Position wardrobes against internal walls rather than cold external ones.
- Move furniture a few centimetres away from any walls.
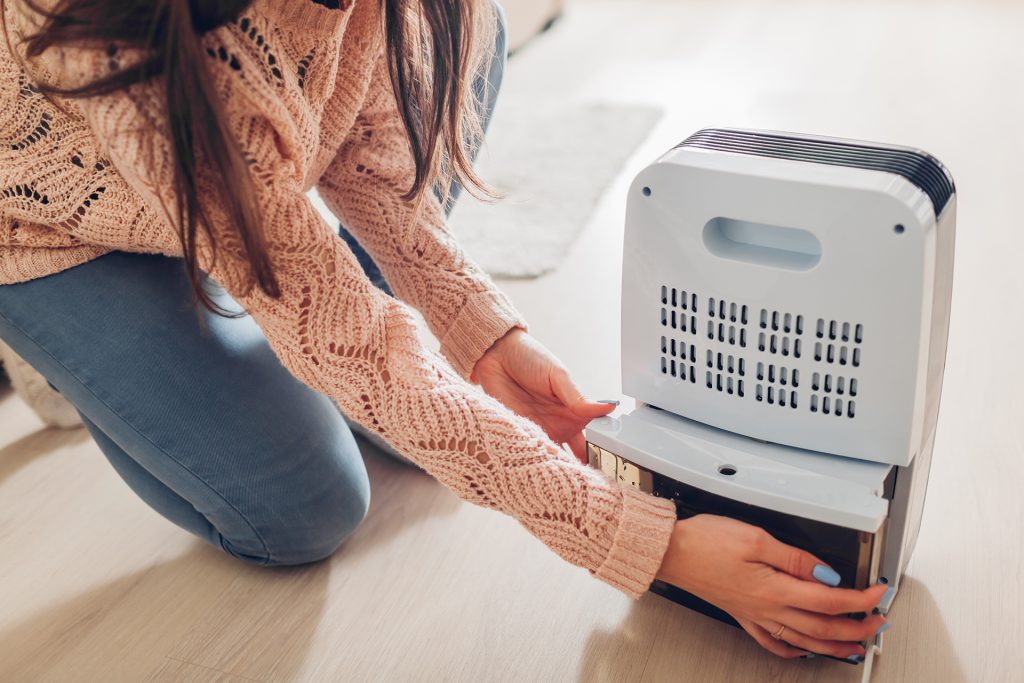
3. Invest in a Dehumidifier
When it comes to the winter months, a dehumidifier can be a lifesaver to control indoor moisture, especially if it is a smart model that switches on automatically with rising humidity levels. Also consider:
- Placing bead moisture absorbers in small or enclosed spaces without a power supply – such as wardrobes or under stairs.
- Using a window vac to quickly remove condensation from problematic glazing and frames.
4. Don’t Forget the Outside
Mould and damp often work their way in from the outside. Make sure to inspect your home’s exterior occasionally and fix any issues promptly. For example:
- Check the roof for missing tiles or visible leaks after particularly bad weather.
- Keep gutters clear of debris.
- Replace damaged or sagging gutter sections.
- Inspect brickwork for cracks or signs of water ingress.
5. Keep Warm
Warm air retains moisture better, making it less likely to cling to surfaces. However, be sure not to sacrifice breathability – even the warmest homes can quickly become a mould breeding ground.
- Install or upgrade loft and wall insulation.
- Use breathable insulation solutions where possible.
- Upgrade to double or triple glazing to prevent cold window surfaces.
- Keep a low and steady heating temperature throughout the day to avoid fluctuations.
- Avoid blocking radiators with furniture, long curtains, or laundry.
6. Improve Ventilation
In most cases, ventilation is the key. Without proper ventilation, even the warmest, most moisture-resistant homes can accumulate mould.
- Ensure all extractor fans are working and vented externally.
- Leave fans running for a few minutes after cooking or showering.
- Open windows daily to let humid air escape.
- Fit trickle vents to windows if full opening isn’t practical.
- Keep internal doors open when possible to encourage air movement between rooms.
- Consider installing additional ventilation systems in problem properties.
Got a Bigger Problem?
In more serious and widespread cases, persistent mould could be a symptom of structural issues such as rising damp, damaged damp proof courses, or incorrectly installed wall cavity insulation.
If you’re dealing with mould that continues to come back despite ventilation and waterproofing efforts, it might be a sign that a larger remedy is needed, such as injecting a chemical damp course and replastering or skimming the interior walls. These kinds of jobs are best left to qualified professionals who can assess the full extent of the damage and implement an appropriate long-term solution.
How To Prevent Mould On Walls: The Long and Short of It
Mould doesn’t have to be a recurring headache. If you tackle it properly, it’s unlikely to get out of hand. It starts with dealing with the root cause, not just wiping away the stains on the surface.
Then, when it comes to how to prevent mould on walls in the future, take steps to limit moisture and improve ventilation, and it’ll be sorted in no time.
Still got questions? Reach out to us – we’d love to help.


0 Comments